POSTS
Hapi Mongo Change Streams
In v3.6 MongoDB rolled out Change Streams, which allow you to easily subscribe to all data changes on a collection, database, or entire deployment.
This tutorial is an adaption of a tutorial put out by the good folks at Pusher.com. In fact, it uses the exact same front-end React app (because my purposes is exploring the backend implementation).
The idea is to create a simple TODO list application that recieves real-time updates via Pusher web-sockets.
Whereas the original tutorial uses express/mongoose, this tutorial uses hapi/mongo-models
View the demo (Open in 2 windows to see the realtime updates!)
Pre-requisites
Install MongoDB 3.6+ Install Node.js 6+
I’m also a fan of nodemon to ease development
npm install nodemon -g
Step 1 - Create a Pusher Channel
Create an account or log into Pusher. Create a Channels app with whatever name you like, choose the cluster closest to your location, and select React for the frontend and Node.js for the backend.
Step 2 - Setup the Database
MongoDB Change Streams require the use of either replica sets or sharded cluster. We will be using replica sets.
Open a new terminal window, and create a replica set using a single mongod server
mongod --replSet 'rs'
Open a second terminal window and connect to mongodb via the mongo shell
mongo
If you have never intiated a replica set, do so via the following shell command
rs.initiate()
Create a database via the use command. (You will add this to your .env file under DB_NAME= in step 3),
use change-stream-task-db
Create a collection called tasks
db.createCollection('tasks')
We’re now ready to start building.
Step 3 - Setup the Node App
For this tutorial we will build a Node.js API using Hapi.js as our routing framework and mongo-models for interacting with our database via document models. (This is similar to using express and mongoose). We use the hapi-mongo-models plugin to make the connection between our database, mongo-models and hapi.
Create a directory folder
  mkdir mongodb-change-streams-demo
  cd mongodb-chage-streams-demo
Initialize your NPM project (use -y to auto-accept all defaults)
npm init -y
Install project dependencies
- pusher - A library for making use of web-sockets. This is how frontend clients can subscribe to changes in our database
- hapi - a routing framework, like express (but better!)
- hapi-mongo-models - a plugin for using mongo-models with hapi
- mongo-models - a document model utility (like mongoose)
- mongodb - the Node MongoDB driver (a dependency of mongo-models)
- joi - A schema validation library
- dotenv - a simple utility for makin vars in our .env file globally available via process.env
npm install --save pusher hapi hapi-mongo-models mongo-models mongodb joi dotenv
Create a .env file to store credentials we want to keep out of github and also other global vars like our database name
.env
## Databse Name
DB_NAME=<YOUR DB NAME HERE>

## Pusher Credentials and Configuation
PUSHER_APP_ID=<YOUR PUSHER APP ID HERE>
PUSHER_APP_KEY=<YOUR PUSHER APP KEY HERE>
PUSHER_APP_SECRET=<YOUR PUSHER APP SECRET HERE>
PUSHER_APP_CLUSTER=<YOUR PUSHER APP CLUSTER HERE>
If you’re going to put this in github, create a .gitignore file to protect your credentials
.gitignore
node_modules
.env
Step 4 - Create our Task Model and Routes
Step 4.1 - Task Model
Now lets create our Task model.
Create a directory called models and add a file called Task.js
"use strict";
const Joi = require("joi");
const MongoModels = require("mongo-models");

const schema = Joi.object({
  _id: Joi.object(),
  task: Joi.string()
});

class Task extends MongoModels {
  static create(task) {
    const document = new Task({
      task
    });

    return this.insertOne(document);
  }

  static remove(taskId) {
    return this.remove({
      _id: taskId
    });
  }
}

Customer.collectionName = "tasks"; // the mongodb collection name
Customer.schema = schema;

module.exports = Task;
Step 4.2 - Create our API routes
Hapi is easily extended via plugins, which can be custom or 3rd party. We will create our own routes plugin to register our routes.
Create a directory called plugins, and a file called routes.js
'use strict';

const Task = require('../models/Task');

const routesPlugin = {
  name: 'routesPlugin',
  version: '1.0.0',
  register: async function (server) {

    server.route({
      method: 'POST',
      path: '/new',
      handler: function (request, h) {
        const {
          task
        } = request.payload;

        try {
          await Task.create(task);
          h.response('success');
        } catch (err) {
          console.error(err);
          throw err; // Errors will be returned via hapi as 500's
        }
      }
    });

    server.route({
      method: 'DELETE',
      path: '/{taskId}',
      handler: function (request, h) {
        const {
          taskId
        } = request.params;

        try {
          await Task.remove(taskId);
          h.response('success');
        } catch (err) {
          console.error(err);
          throw err; // Errors will be returned via hapi as 500's
        }
      }
    });

  }
};

module.exports = routesPlugin;
Step 4.3 - Create our API server
Create a top-level file called server.js.
"use strict";

const Hapi = require("hapi");

// Create a server with a host and port
const server = Hapi.server({
  host: "localhost",
  port: 8000
});

// Start the server
async function start() {
  try {
    await server.register(require("./routes/routesPlugin"));
    await server.start();
  } catch (err) {
    console.log(err);
    process.exit(1);
  }

  console.log("Server running at:", server.info.uri);
}

start();
Step 4.4 - Connect our model to our DB via Hapi-Mongo-Models
We still need to create a database connection when our server starts. We do this via hapi-mongo-models.
Let’s create another plugin file to encapsulate these settings.
"use strict";

const modelsPlugin = {
  plugin: require("hapi-mongo-models"),
  options: {
    mongodb: {
      connection: {
        uri: "mongodb://localhost:27017/",
        db: process.env.DB_NAME
      },
      options: {
        useNewUrlParser: true
      }
    },
    models: ["../../models/Task.js"],
    autoIndex: false
  }
};

module.exports = modelsPlugin;
We now update our server.js file to register our model plugin.
"use strict";

require("dotenv").load(); // Loads .env vars into process.env
const Hapi = require("hapi");

// Create a server with a host and port
const server = Hapi.server({
  host: "localhost",
  port: 8000
});

// Start the server
async function start() {
  try {
    await server.register(require("./plugins/routes"));
    await server.register(require("./plugins/models"));
    await server.start();
  } catch (err) {
    console.log(err);
    process.exit(1);
  }

  console.log("Server running at:", server.info.uri);
}

start();
Step 4.5 - Setup Pusher
Finally we will connect to Pusher via another hapi plugin. Here we will use the db.collection.watch method to create a change stream and monitor changes to our tasks collection.
Create a new file plugins/pusher.js
"use strict";

const assert = require("assert");

const channel = "tasks";

const pusherPlugin = {
  name: "pusherPlugin",
  register: async function(server) {
    // Get the DB from the hapi-mongo-models plugin
    const HapiMongoModelsPlugin = server.plugins["hapi-mongo-models"];
    const db = HapiMongoModelsPlugin["mongo-models"].dbs.default;

    const taskCollection = db.collection("tasks");
    const changeStream = taskCollection.watch();

    changeStream.on("change", change => {
      console.log(change);

      // Whenever a new task is inserted, send a message with an "insert" event
      // that has the inserted task ID and task description
      if (change.operationType === "insert") {
        const task = change.fullDocument;
        pusher.trigger(channel, "inserted", {
          id: task._id,
          task: task.task
        });
      }

      // When a task is deleted, send a message with a "delete" event and the deleted
      // task's ID
      if (change.operationType === "delete") {
        pusher.trigger(channel, "deleted", change.documentKey._id);
      }
    });

    server.log("Listening for database changes...");
  }
};

module.exports = pusherPlugin;
Step 5 - The frontend
Because my main purpose with this app was to explore change streams with Node and Hapi, I really didn’t need to change anything from the original Pusher tutorial in terms of the front-end application. You can follow the steps in that tutorial, or just clone my frontend react app.
https://github.com/JCarran0/todo-app-change-stream
Seeing it in action
Open a terminal window, cd into your backend directory and run:
  npm start

  > mongodb-hapi-change-streams-demo@1.0.0 start /Users/jcarrano/repos/change-streams/mongodb-hapi-change-streams-demo
  > node server.js

  > Server running at: http://MB-116:8000
Open another terminal window, cd into your frontend directory and run:
npm start
This should automatically open an internet browser to http://localhost:3000/ with our React app running.
Since the purpose of this demo is to see multiple clients receiving realtime database updates, we will want to open one or more additional browser windows side by side, e.g.
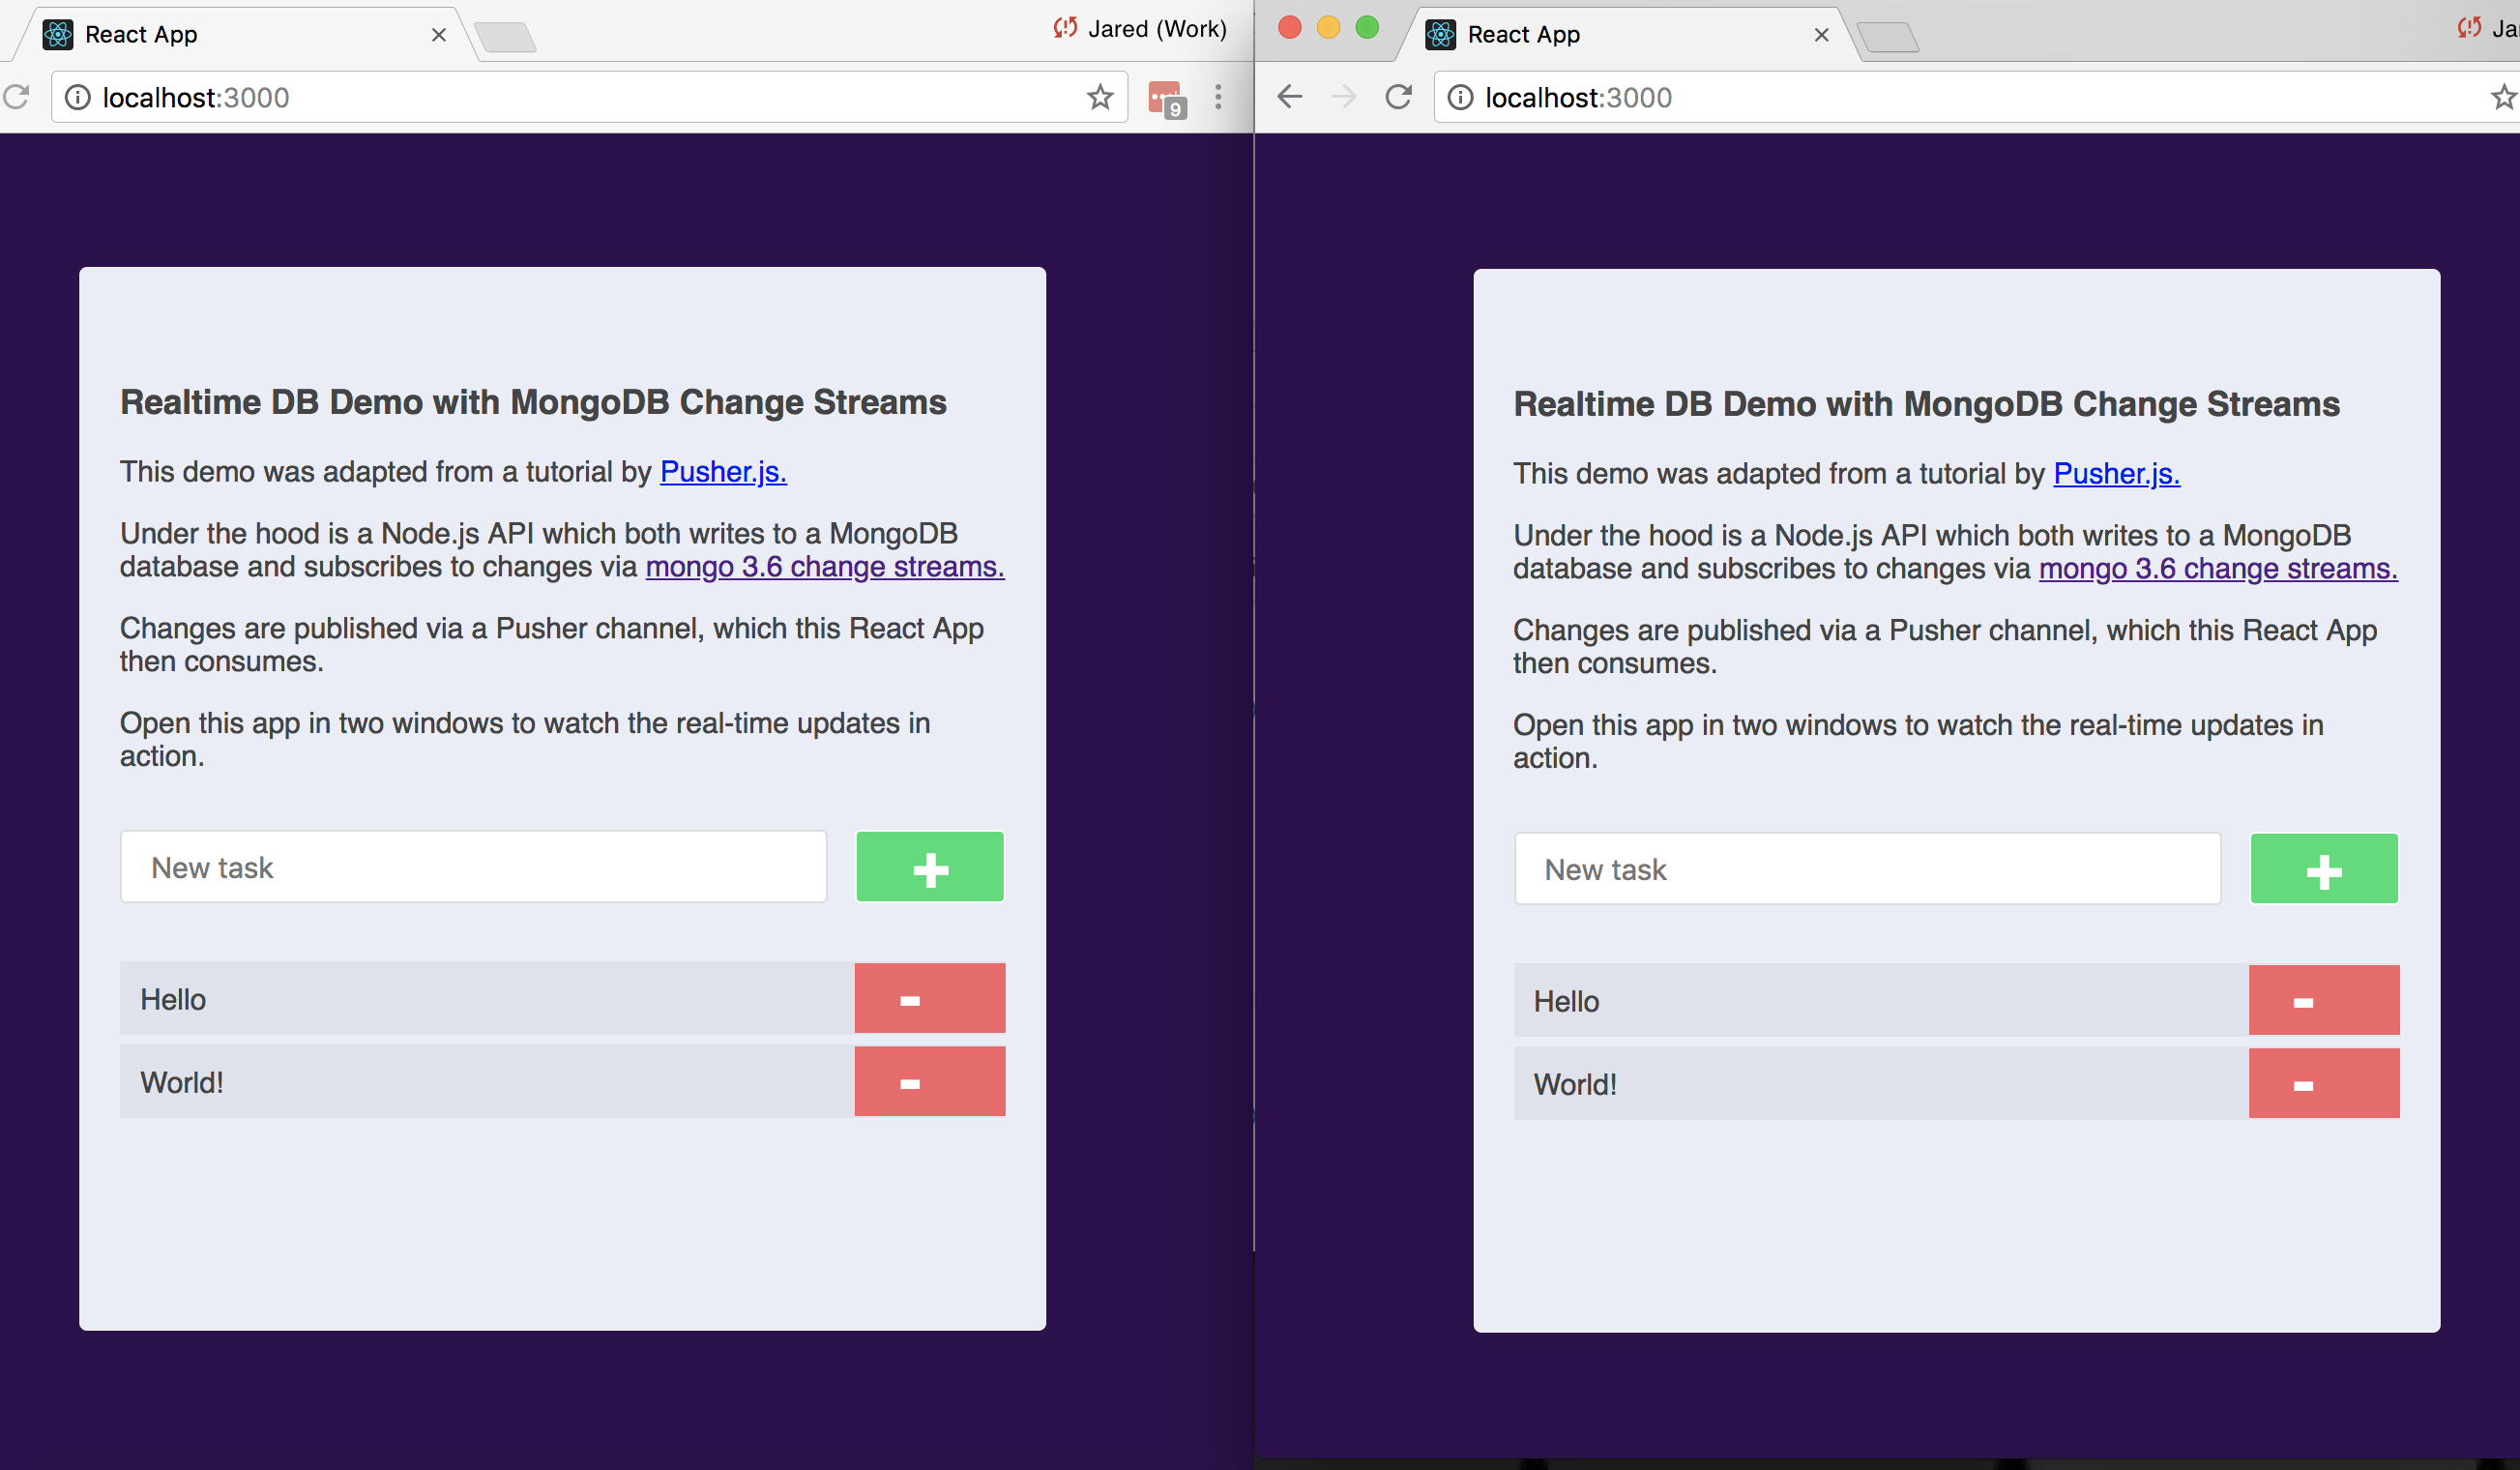
Side by side React Apps
And that’s it!
Add and delete tasks from any client and watch the updates in the others!